Task Management
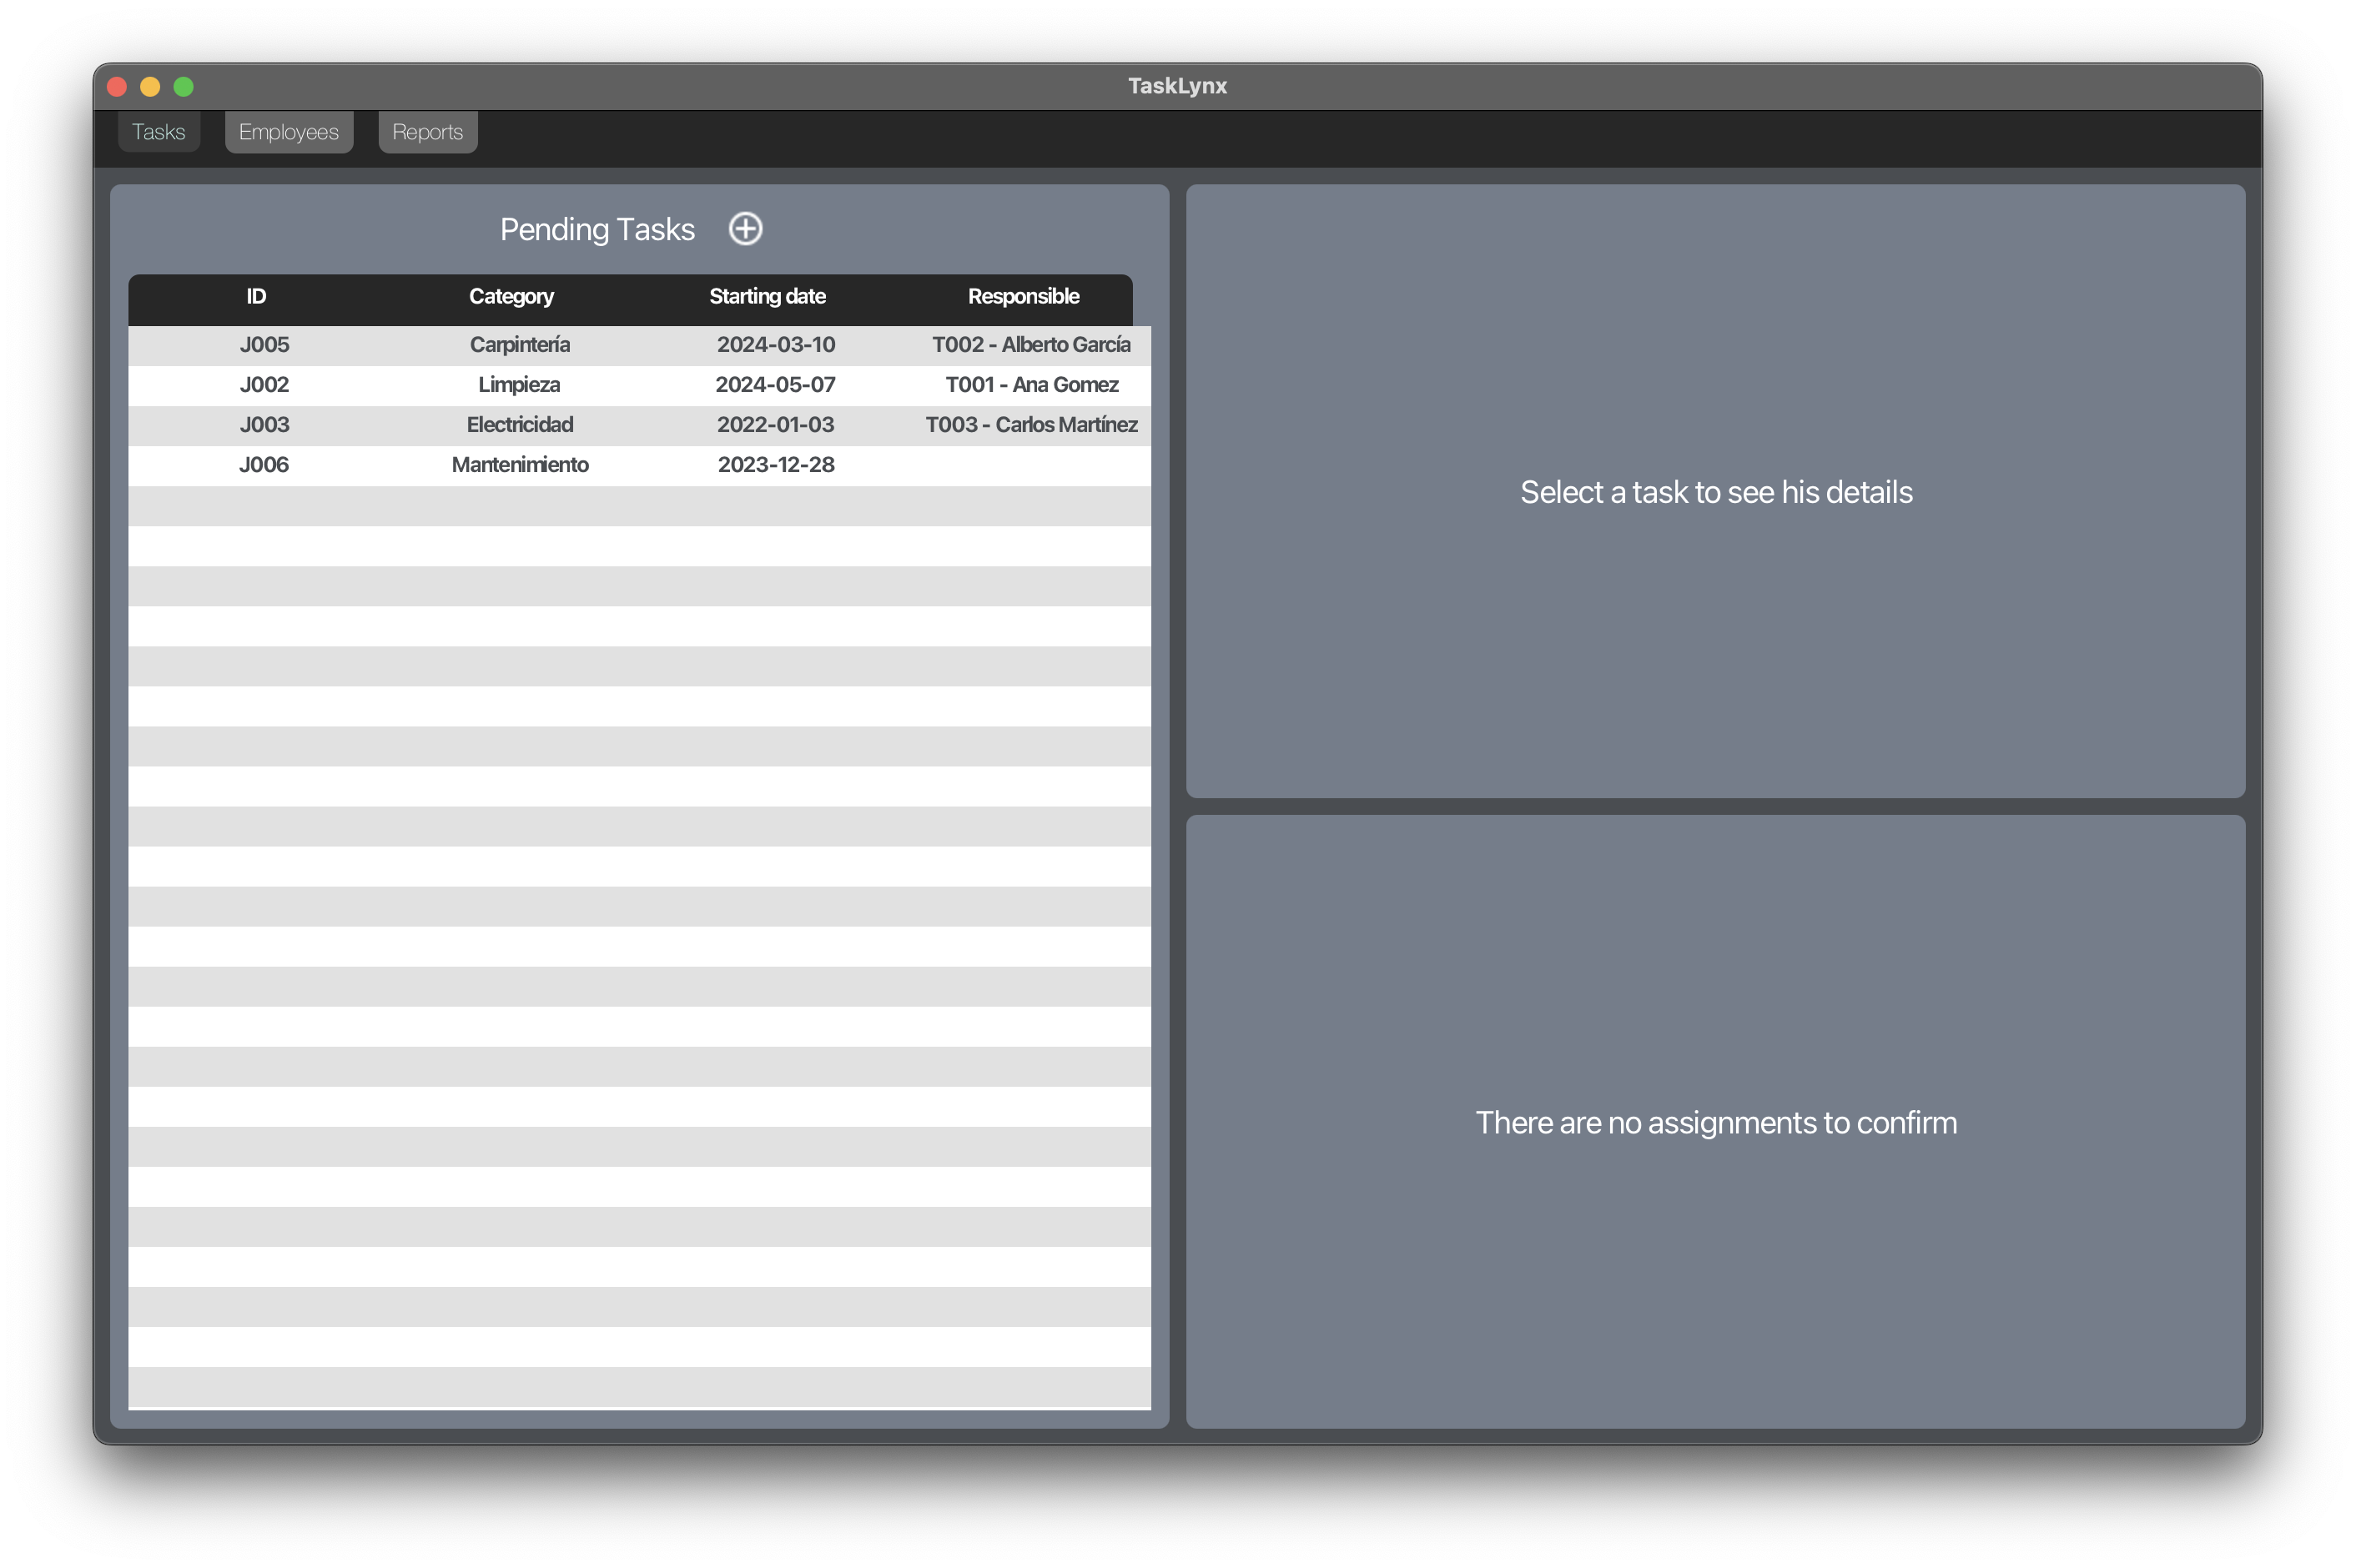
At the first time into TaskLynx Business, users are presented with a list of pending tasks.
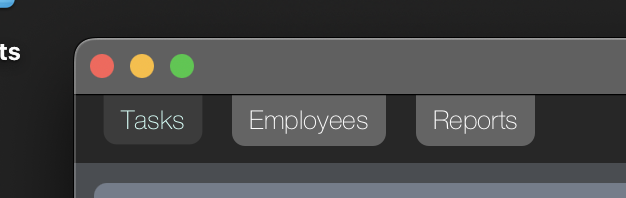
Navigation through different tabs is facilitated by the top menu.
The task list displays all pending tasks, and clicking on a task reveals its details along with various possible actions.
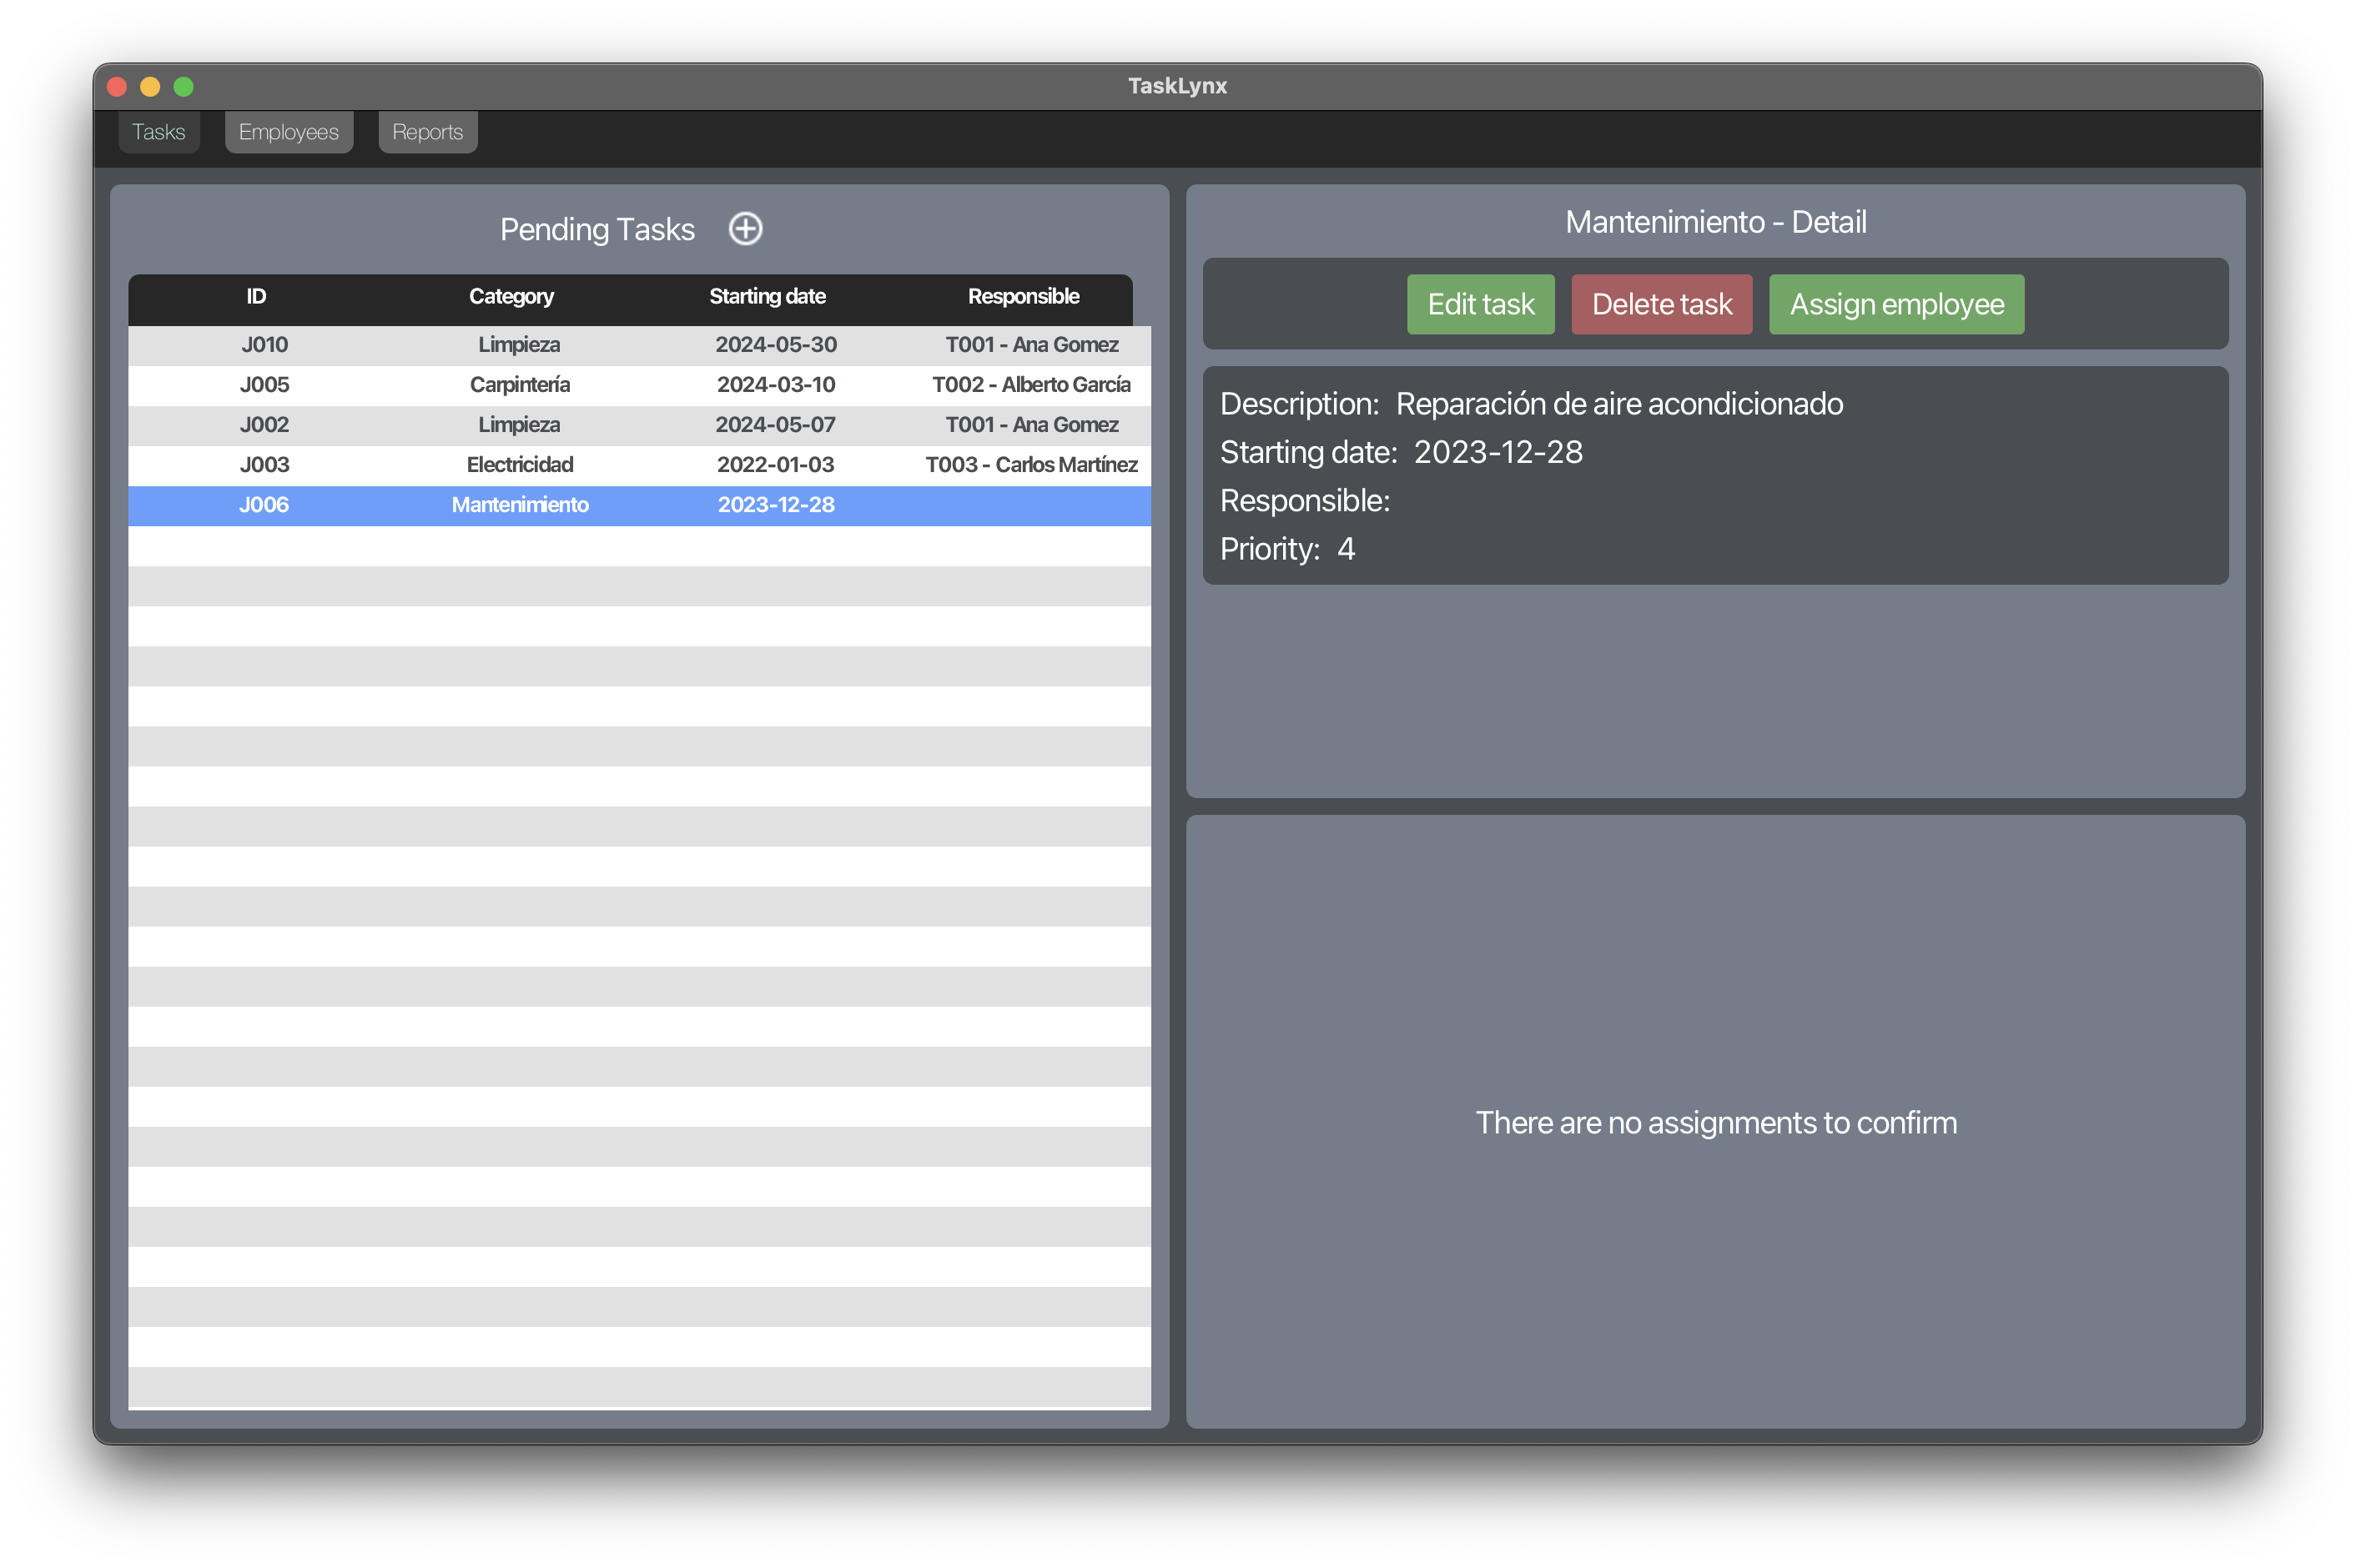
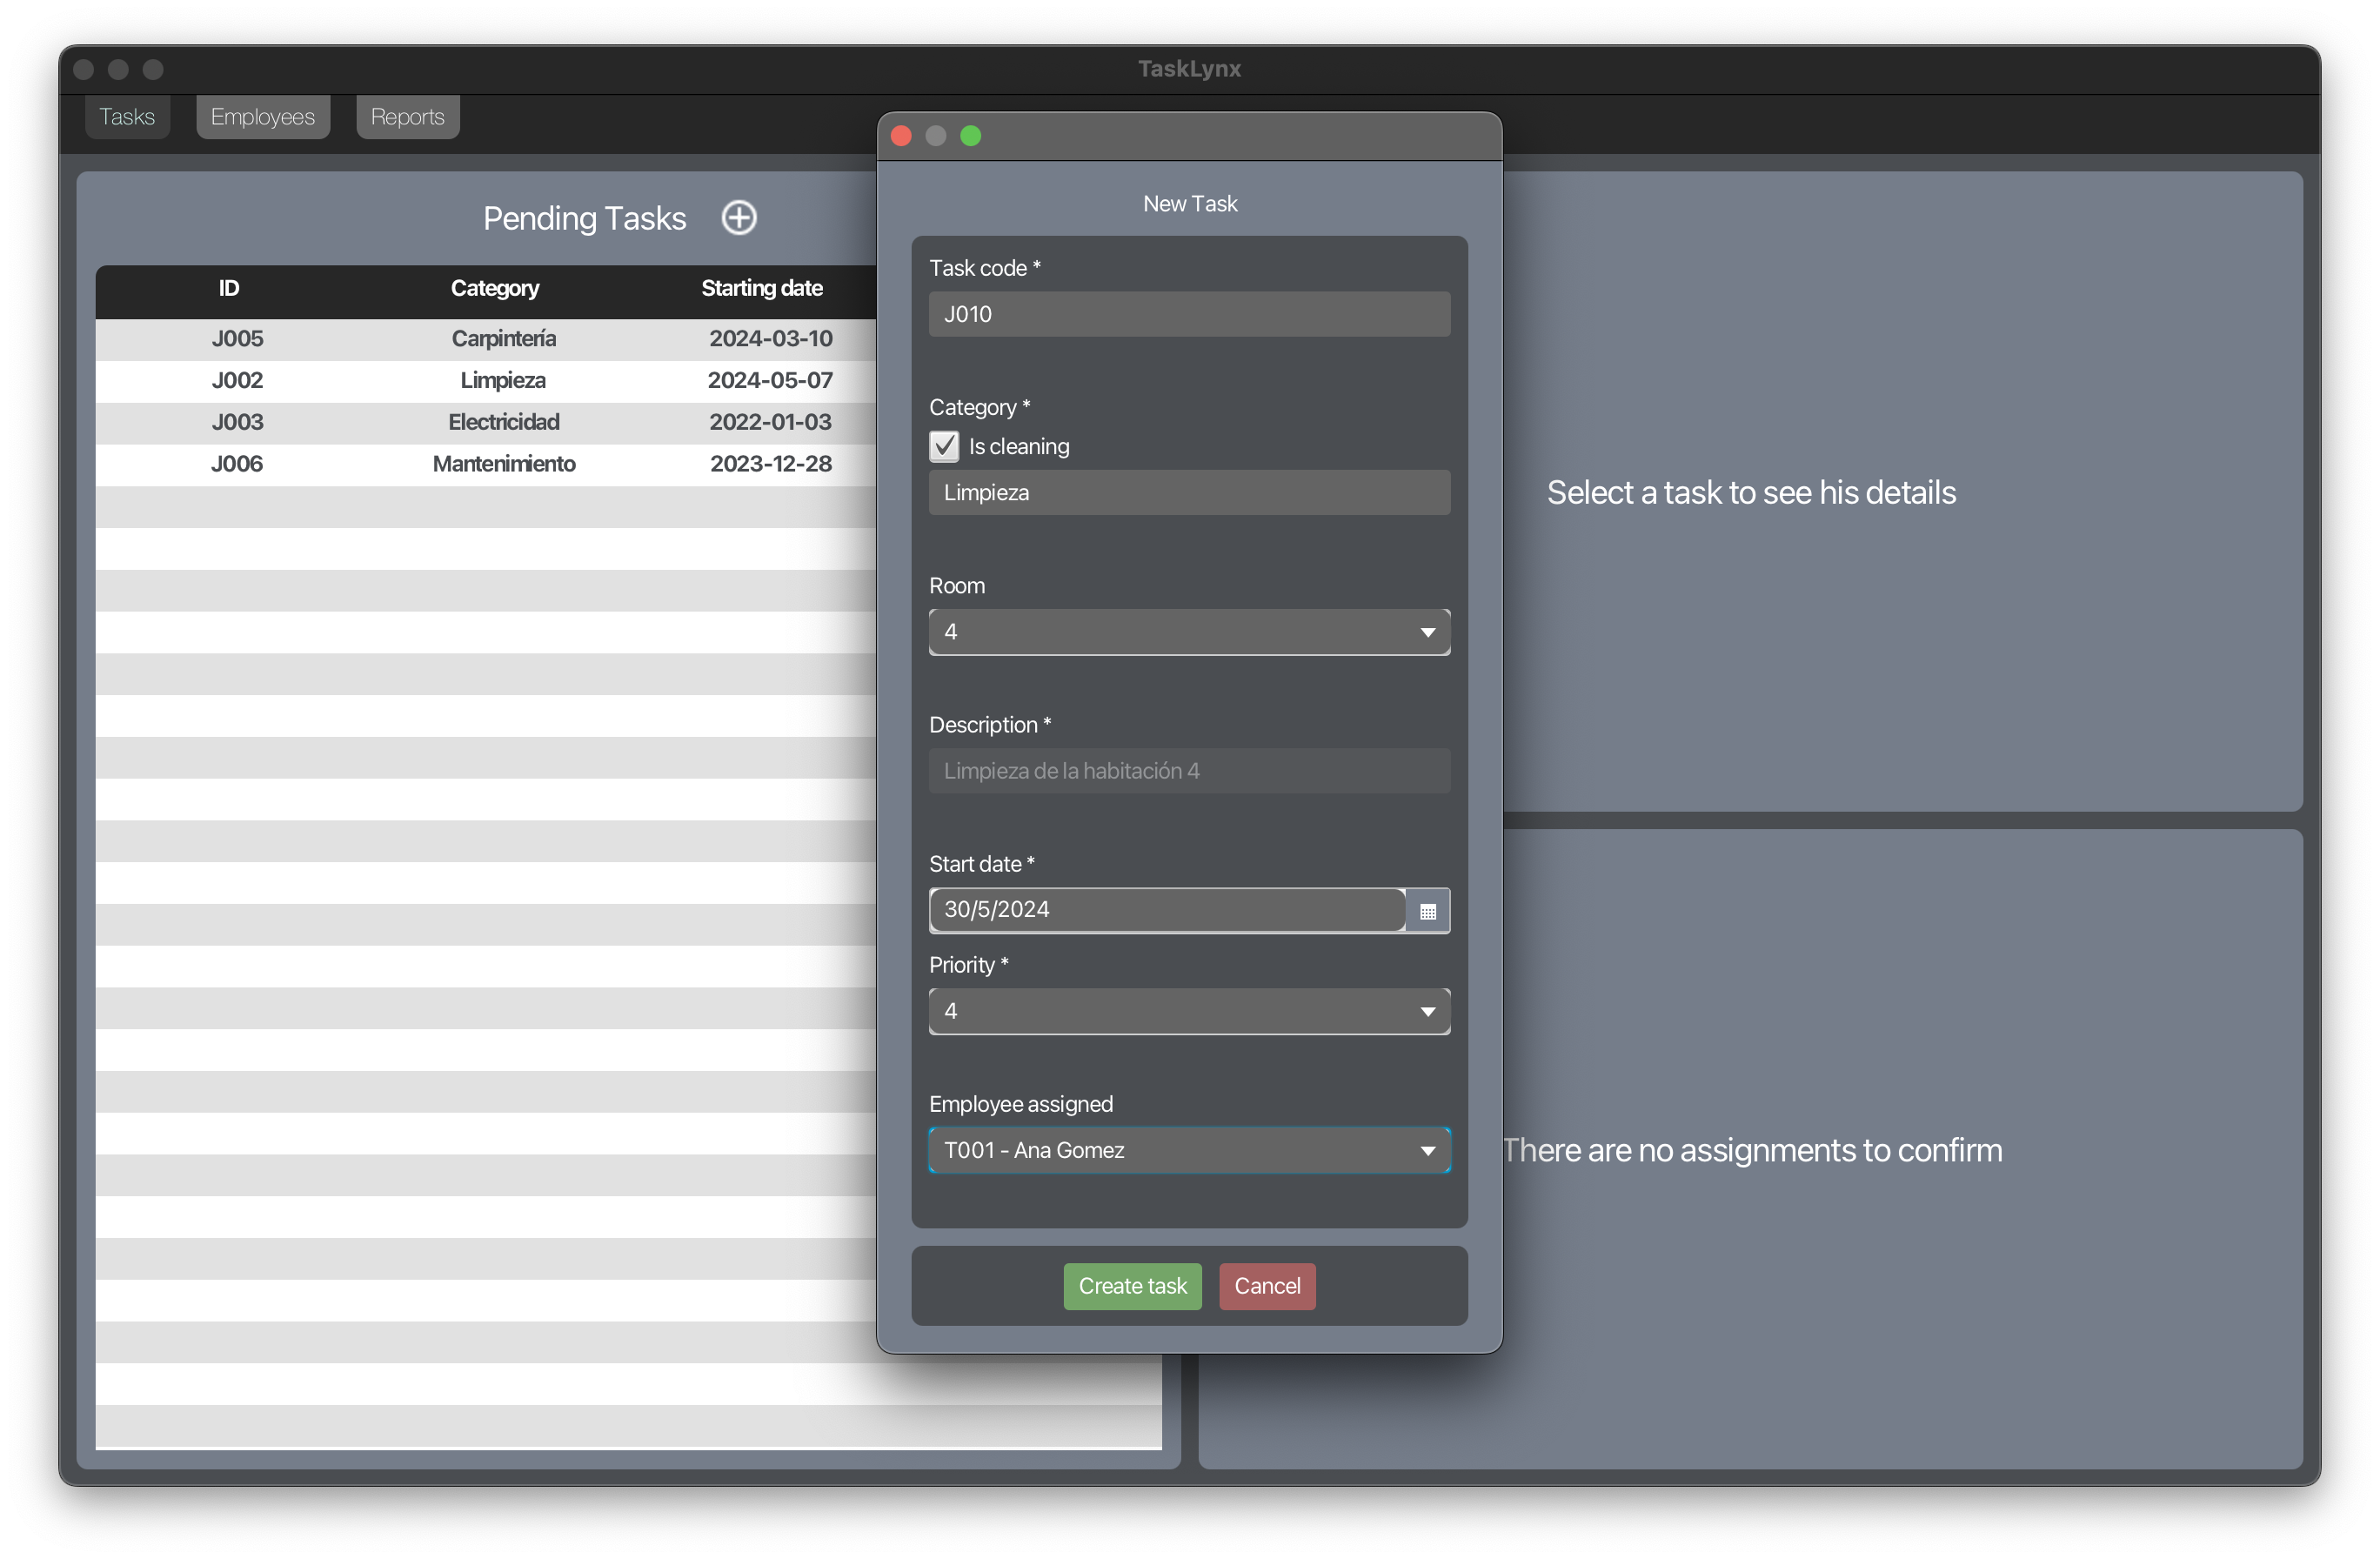
Add Task: A "+" button above the table allows adding a new task to the system. Clicking this opens a modal window requesting the task details.
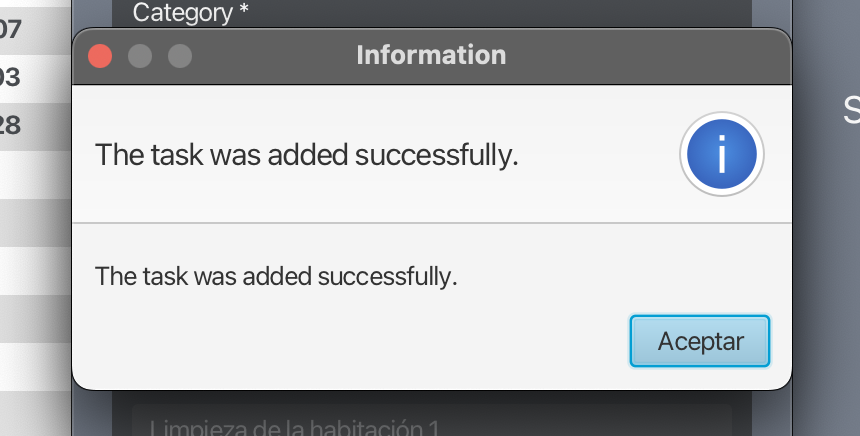
Once correctly entered, a window confirms the successful creation of the task.
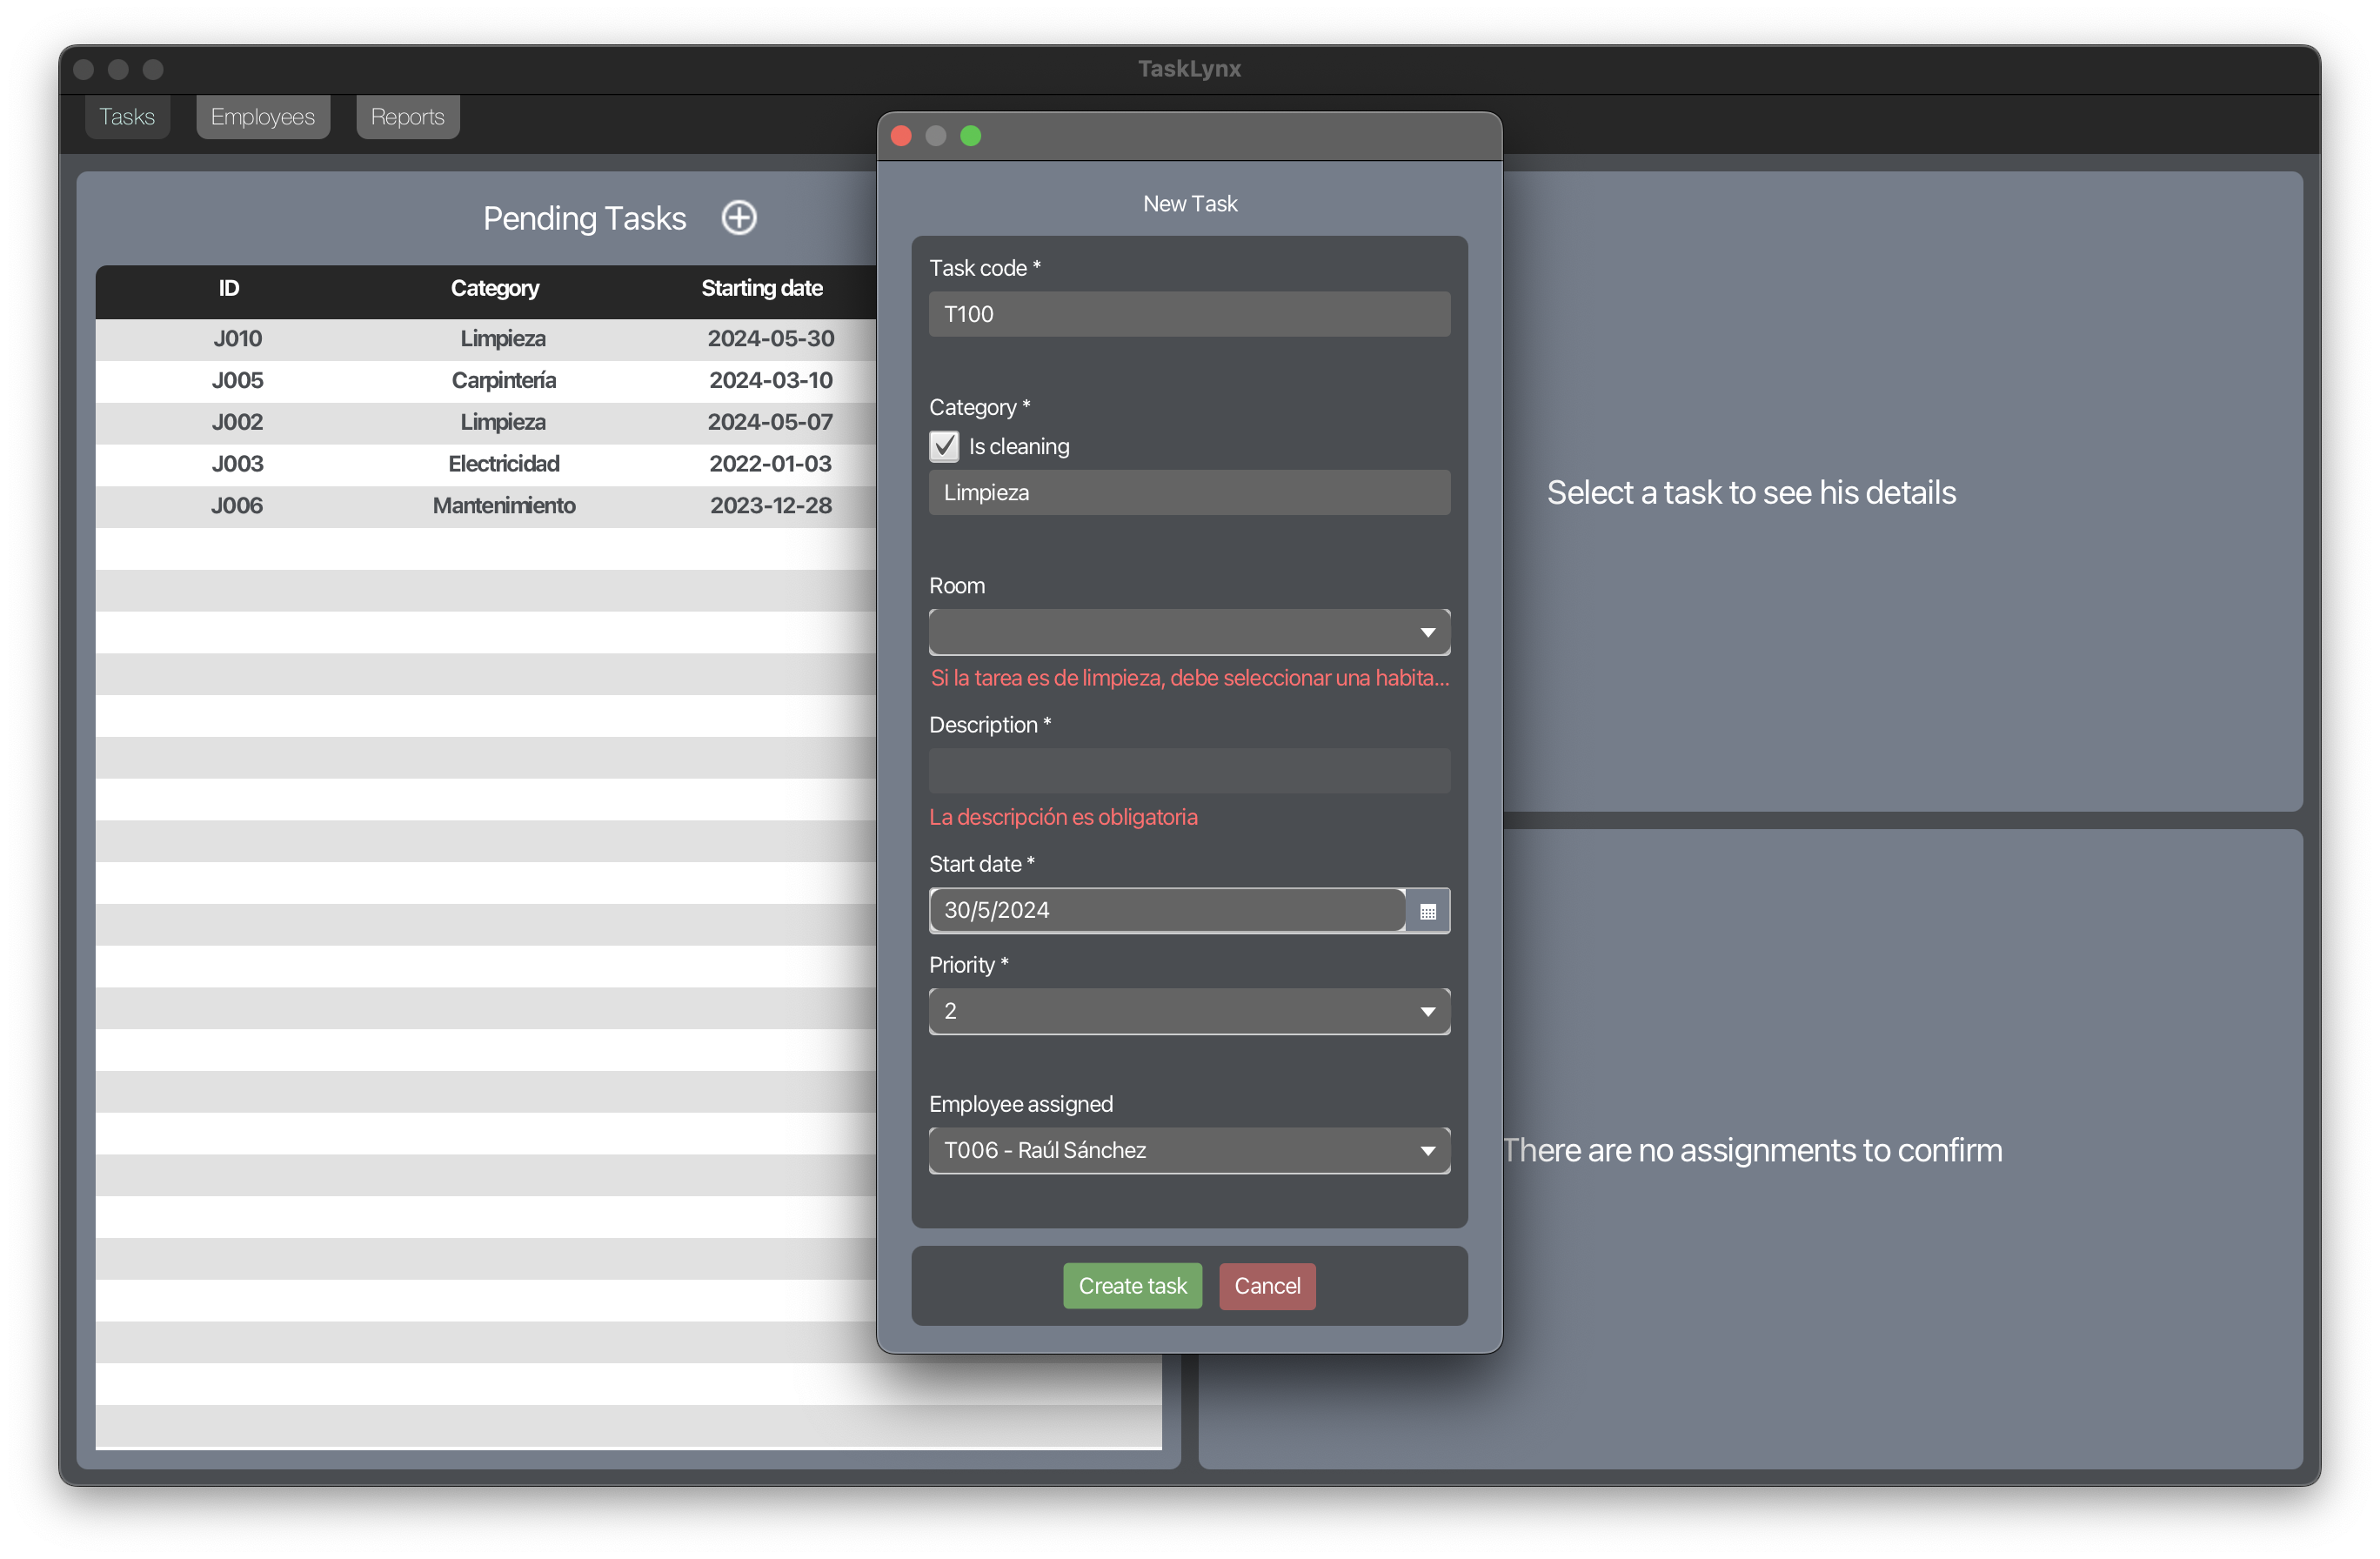
If there is an error in any field, a corresponding error message is displayed.
The new task is immediately reflected in the table.

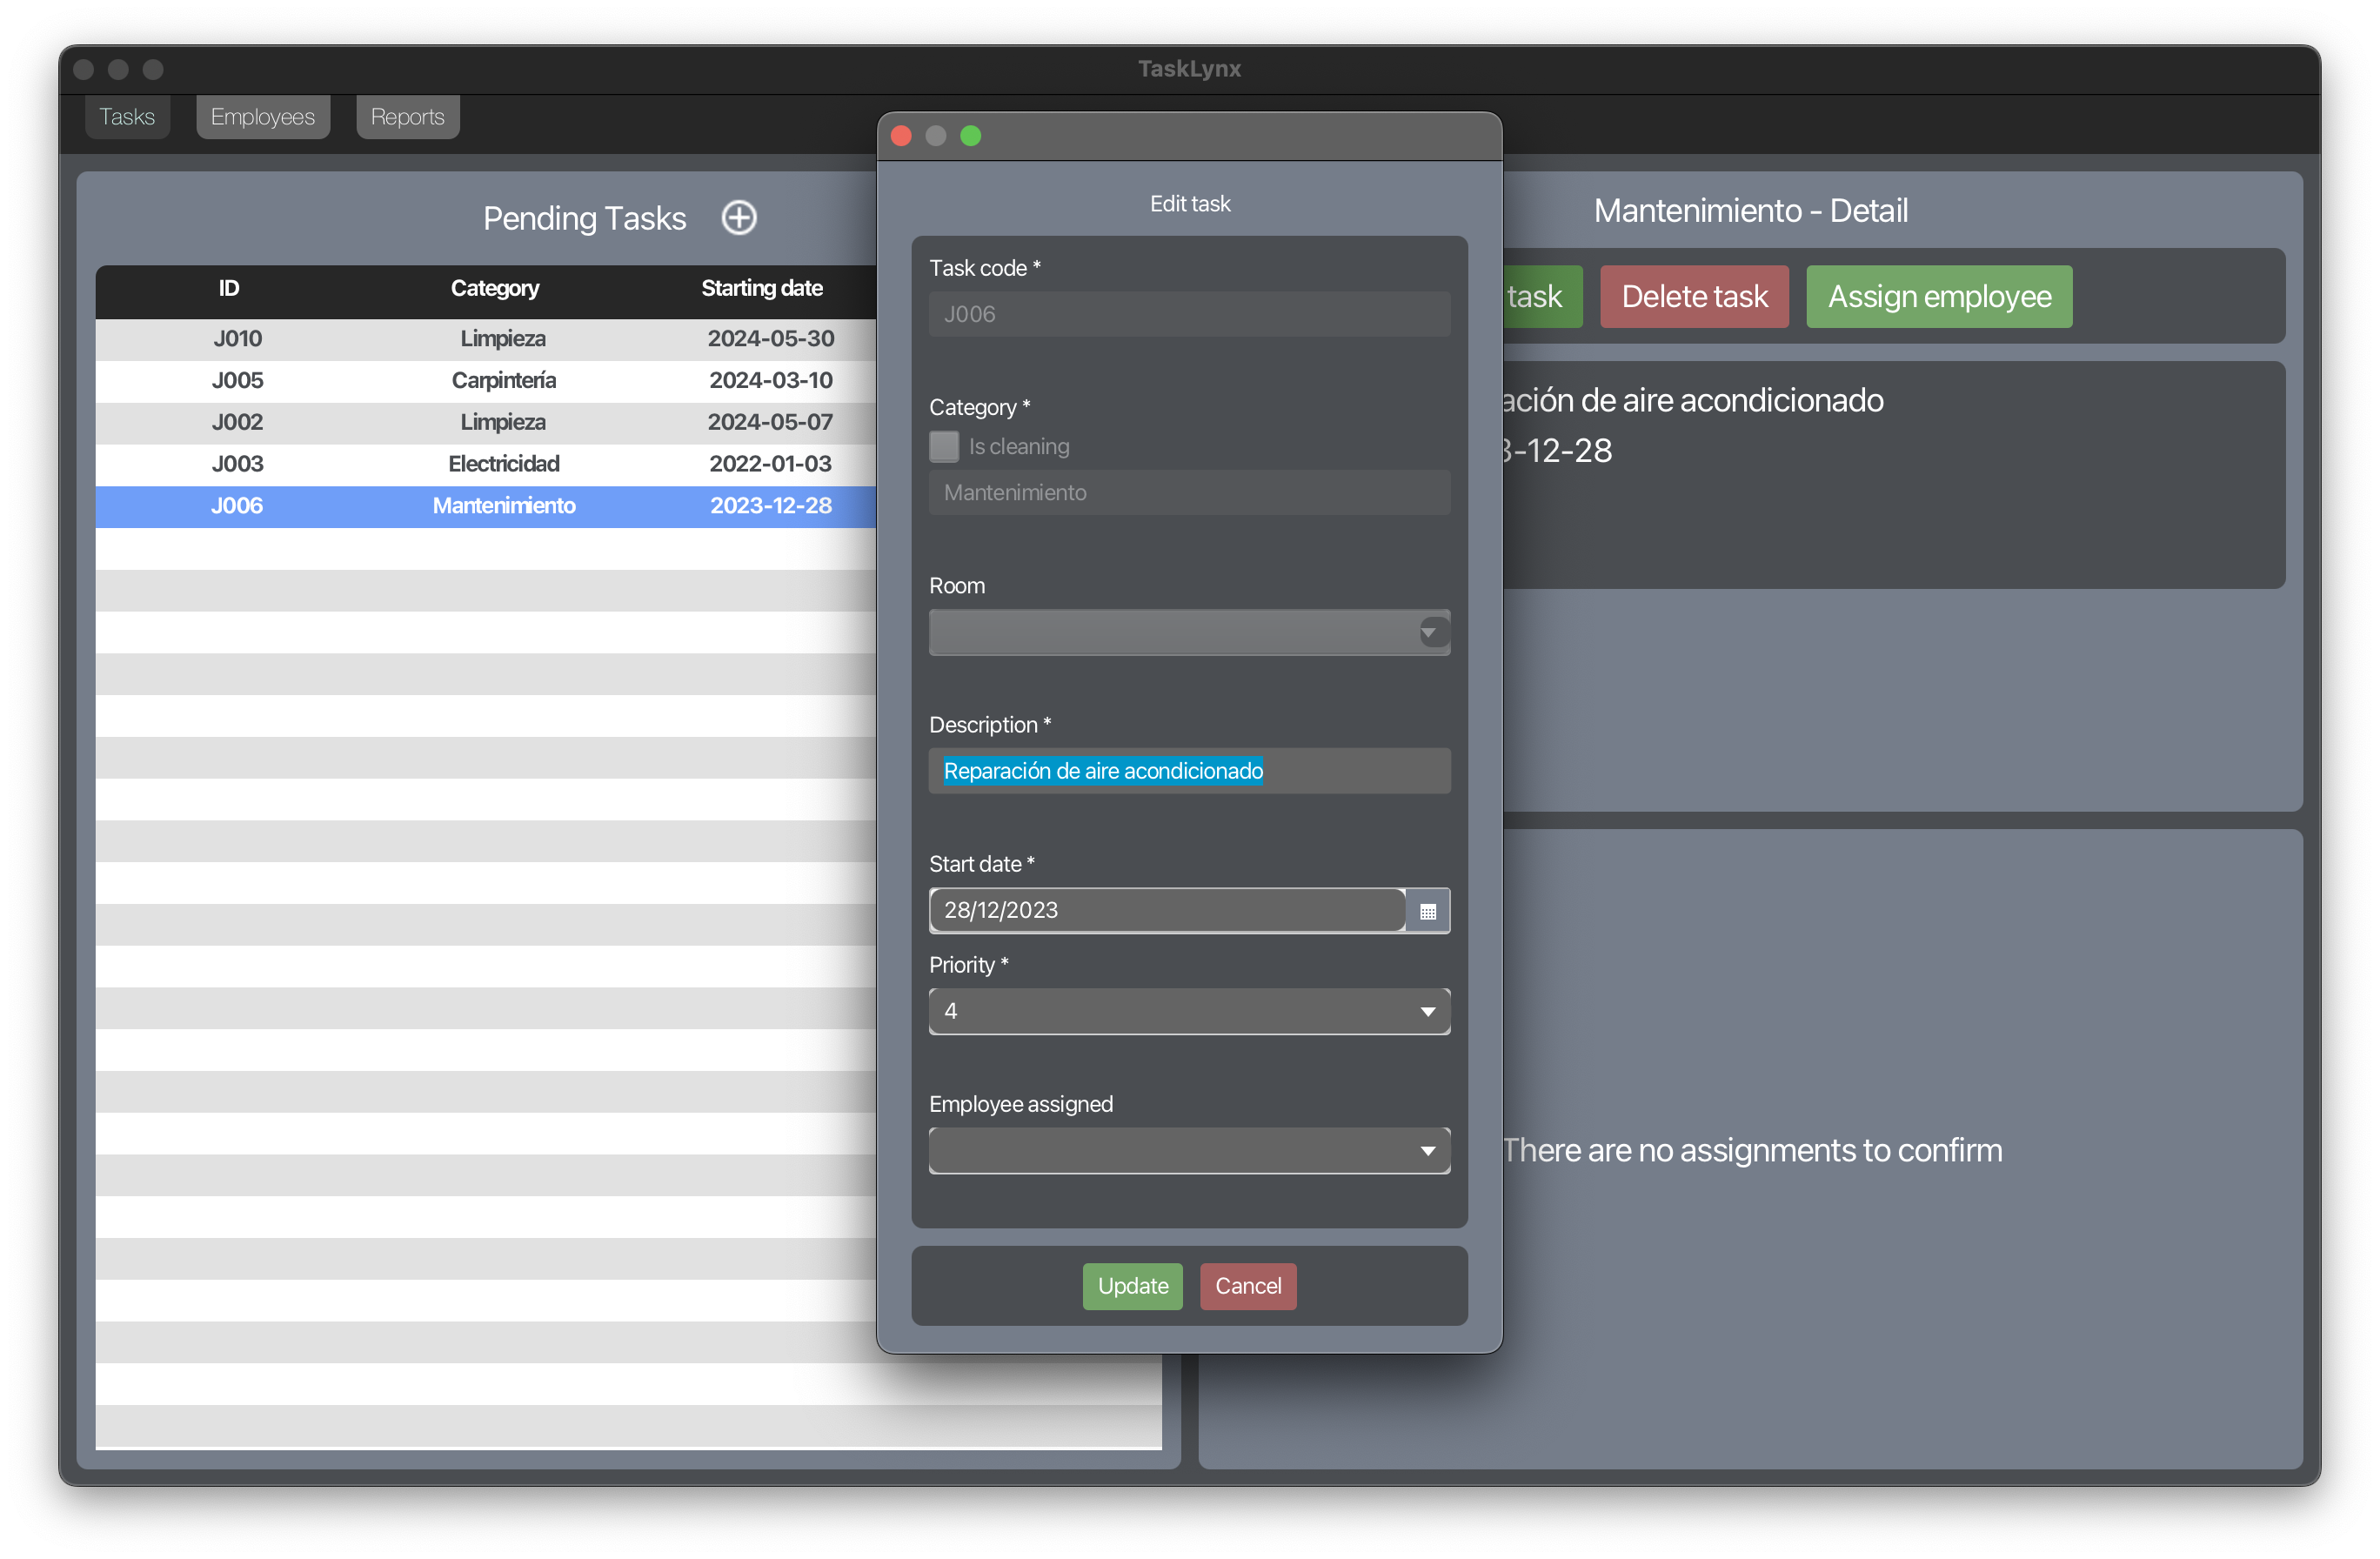
Edit and Delete Tasks: Existing tasks can be edited via a modal window that allows updating the desired details.
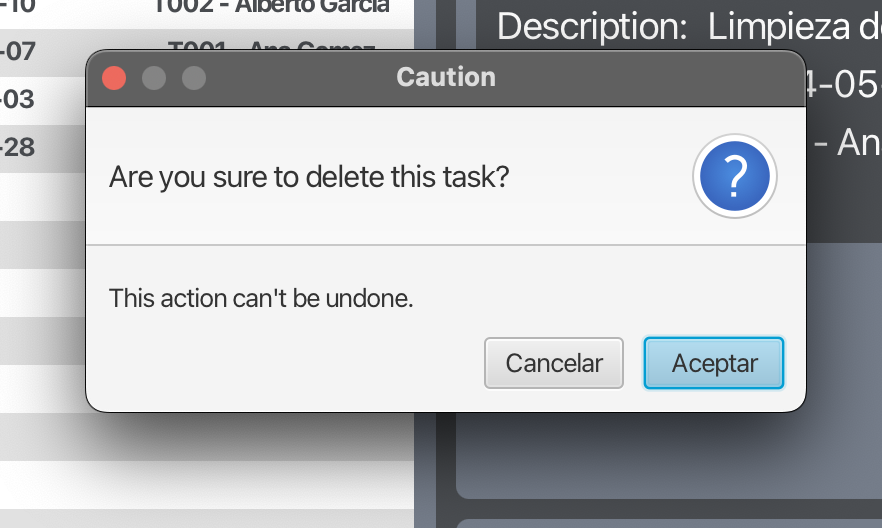
Tasks can also be deleted, following confirmation through a system message.
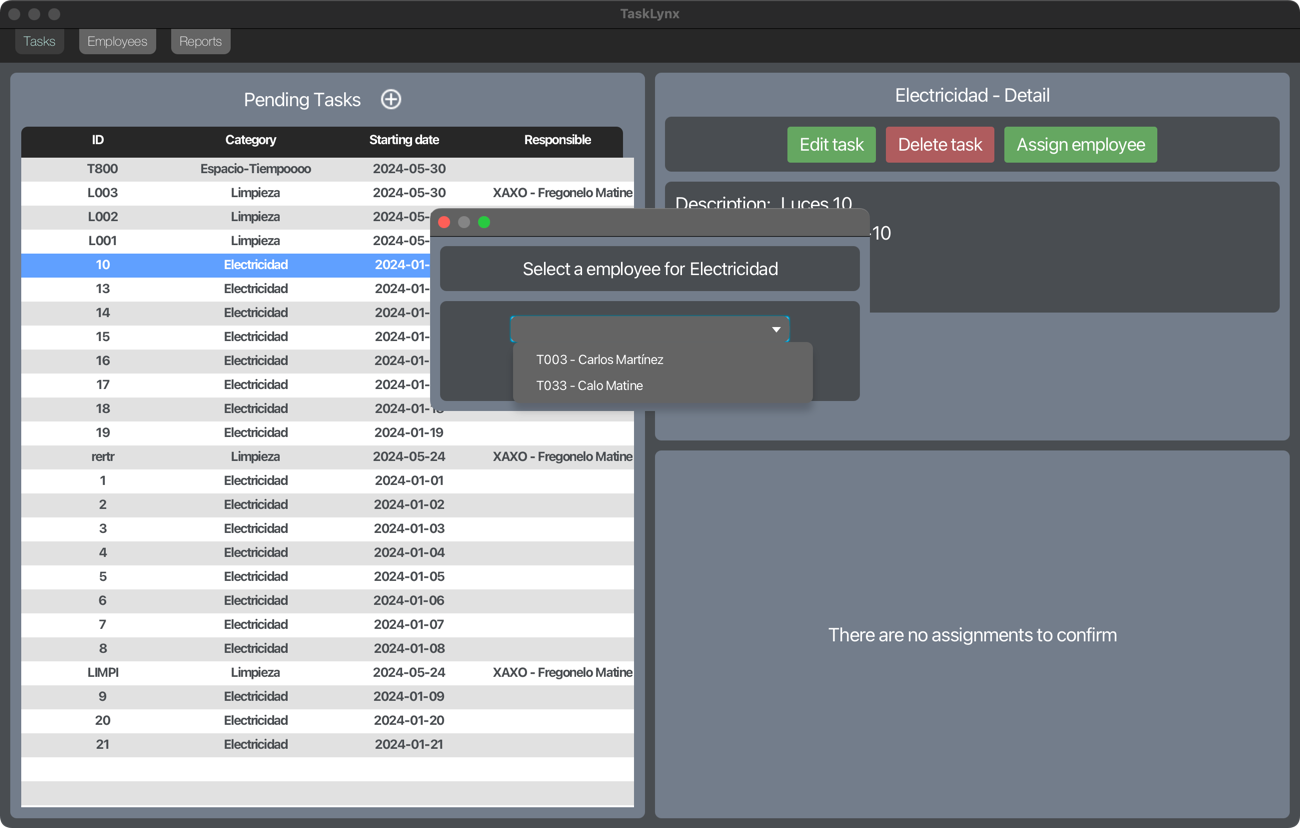
Employee Assignment: Each task can be assigned to a specific employee, and these assignments can be managed and accepted later. This can be done by selecting a task and pressing the Assign employee or by double-clicking on it.
If there is a provisional employee assigned to a task, and we double-click on it again, it will be unassigned.
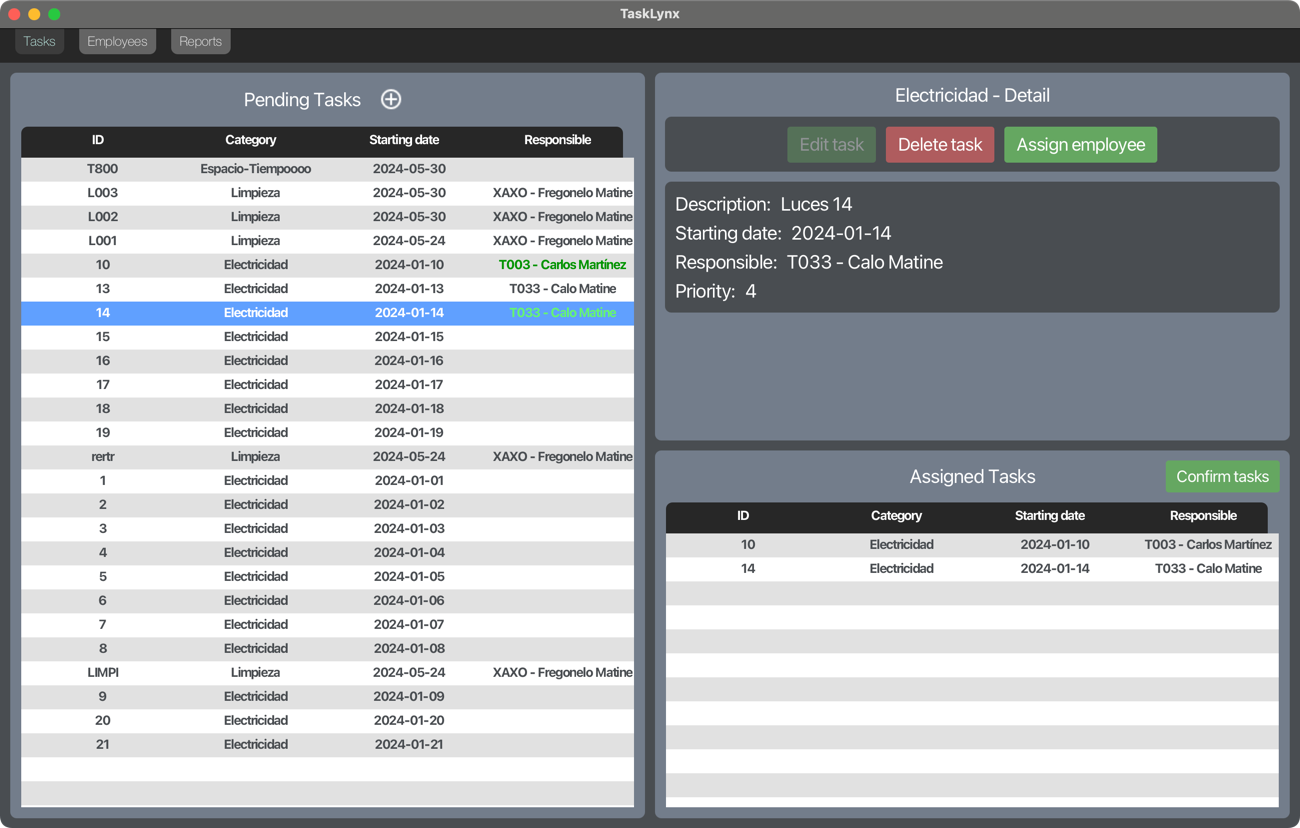
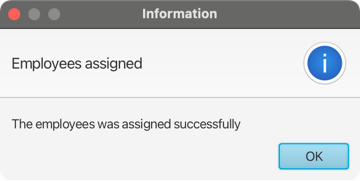
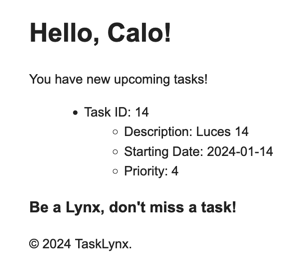
By pressing Confirm tasks, if the operation is successful, a confirmation message is displayed and every employee will receive an email with a list of their assigned tasks sorted by date.